
The iOS Setup Assistant is an integral part of Apple’s ecosystem, guiding users through the initial setup of their devices with ease and efficiency. Whether you are setting up a new iPhone, iPad, or iPod Touch, the iOS Setup Assistant ensures that you configure your device correctly from the start. This article will provide a detailed exploration of the iOS Setup Assistant, including its functions, features, and tips to make the setup process as seamless as possible.
What is the iOS Setup Assistant?
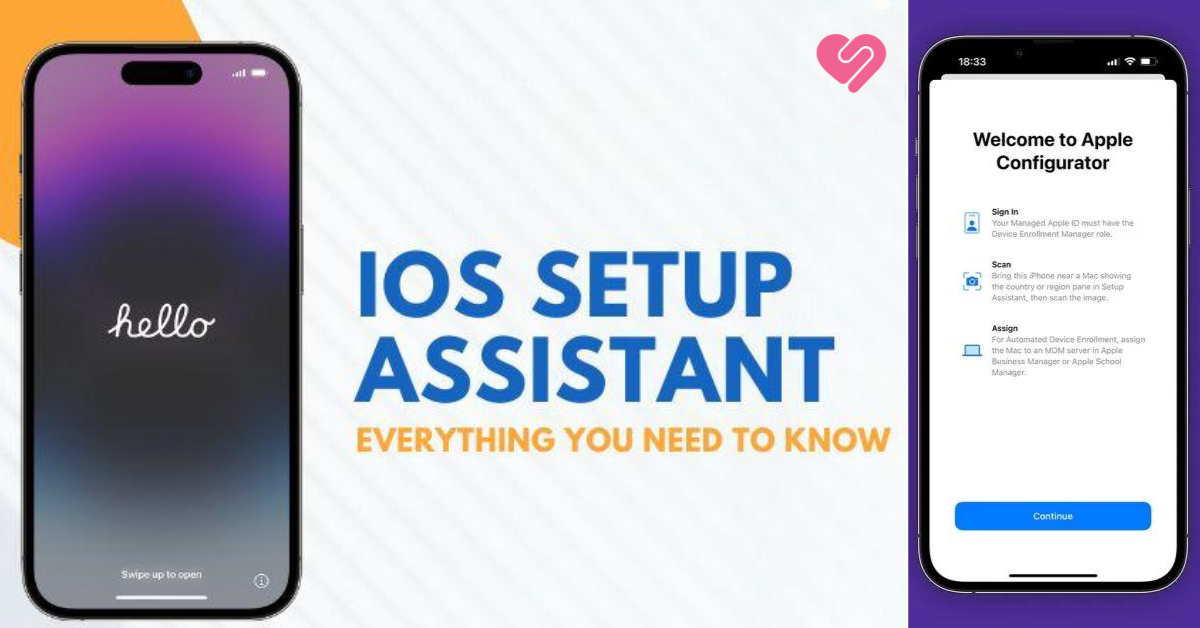
The iOS Setup Assistant is a step-by-step wizard that walks users through the initial configuration of their iOS devices. It is designed to simplify the setup process for new or reset devices, helping users configure settings, transfer data, and customize their experience.
Key Features of the iOS Setup Assistant
The iOS Setup Assistant includes several key features that help ensure a smooth setup process:
- Language and Region Selection: The first step of the Setup Assistant allows users to select their preferred language and region. This setting ensures that the device uses the correct language for system menus and adjusts time and date settings according to the chosen region.
- Wi-Fi Connection: The Setup Assistant prompts users to connect to a Wi-Fi network. This connection is crucial for activating the device, downloading software updates, and accessing Apple services during setup.
- Data Transfer Options: Users can choose how they want to transfer data from an old device. Options include restoring from an iCloud or iTunes backup, transferring directly from another iOS device, or setting up the device as new.
- Apple ID and iCloud Configuration: Users are prompted to sign in with their Apple ID, which is essential for accessing iCloud, the App Store, and other Apple services. If users don’t have an Apple ID, they can create one during the setup process.
- Face ID or Touch ID Setup: Depending on the device, the Setup Assistant guides users through setting up biometric security features like Face ID or Touch ID for added security and convenience.
- Siri and Location Services: Users can enable Siri, Apple’s virtual assistant, and location services to enhance the functionality of their device.
- Terms and Conditions: Finally, users must agree to Apple’s terms and conditions to complete the setup process.
How to Use the iOS Setup Assistant
Setting up a new iOS device using the Setup Assistant is straightforward. Here’s a step-by-step guide to help you through the process:
Step 1: Power On and Language Selection
- Power On the Device: Turn on your iOS device by pressing the power button until the Apple logo appears.
- Choose a Language: Once the device is powered on, you’ll see a welcome screen. Swipe up from the bottom of the screen (or press the Home button, depending on the model) and choose your preferred language from the list.
Step 2: Region and Wi-Fi Setup
- Select Your Region or Country: Choose your country or region from the list provided. This selection will determine the date, time, and currency formats.
- Connect to Wi-Fi: Tap on a Wi-Fi network to connect. Enter the password if prompted. A Wi-Fi connection is necessary for activating your device and accessing Apple’s services.
Step 3: Data Transfer Options
- Choose a Data Transfer Method: You have several options for transferring data to your new device:
- Restore from iCloud Backup: If you have a backup stored in iCloud, select this option and sign in with your Apple ID to restore your data.
- Restore from iTunes Backup: Connect your device to a computer with iTunes and select the option to restore from an iTunes backup.
- Transfer Directly from Another iOS Device: Use the Quick Start feature by bringing your new and old devices close together. Follow the on-screen instructions to transfer data wirelessly.
- Set Up as New Device: Choose this option if you want to start fresh without restoring data from a previous device.
Step 4: Apple ID and iCloud Setup
- Sign In with Your Apple ID: Enter your Apple ID and password. If you don’t have an Apple ID, you can create one by following the on-screen instructions.
- Enable iCloud: After signing in, you’ll have the option to enable iCloud services, including iCloud Backup, Photos, and more.
Step 5: Configure Security and Siri
- Set Up Face ID or Touch ID: Depending on your device, you’ll be prompted to set up Face ID or Touch ID for enhanced security. Follow the instructions to register your face or fingerprint.
- Set a Passcode: Create a six-digit passcode to protect your device. You can choose a custom passcode if you prefer a different length.
- Enable Siri: Decide if you want to enable Siri and follow the instructions to set it up. Siri can assist with various tasks and provide information hands-free.
Step 6: Location Services and Terms
- Enable Location Services: You’ll be asked if you want to enable location services, which allow apps and services to use your device’s location. You can adjust this setting later if desired.
- Agree to Terms and Conditions: Review Apple’s terms and conditions and tap “Agree” to proceed.
Step 7: Finish Setup
- Customize Settings: You may have additional options to customize your device’s settings, such as enabling automatic updates and setting up Apple Pay.
- Get Started: Once all steps are completed, tap “Get Started” to finish the setup and begin using your new iOS Setup Assistant device.
Troubleshooting Common Setup Issues
While the iOS Setup Assistant is designed to be intuitive and user-friendly, some users may encounter issues during the setup process. Here are common problems and solutions:
Activation Errors
- Check Wi-Fi Connection: Ensure you are connected to a stable Wi-Fi network. Poor connectivity can lead to activation errors.
- Contact Carrier: If using a cellular network, ensure your SIM card is active and compatible with the device. Contact your carrier if issues persist.
- Restart Device: Sometimes, restarting the device can resolve activation errors.
Apple ID and iCloud Issues
- Incorrect Password: Double-check your Apple ID and password for accuracy. Use the “Forgot Apple ID or Password” option if needed.
- Two-Factor Authentication: If enabled, ensure you have access to the trusted device or phone number to receive verification codes.
Data Transfer Problems
- Backup Issues: Verify that the iCloud or iTunes backup is complete and not corrupted. Retry the restoration process.
- Quick Start Failures: Ensure both devices are running the latest iOS version and are close together. Restart both devices and try again.
Face ID or Touch ID Setup
- Lighting Conditions: Ensure the environment is well-lit when setting up Face ID. For Touch ID, ensure your finger is clean and dry.
- Reset Biometric Data: If issues persist, reset Face ID or Touch ID and start the setup process again.
Tips for a Smooth Setup Experience
To ensure a seamless setup process with the iOS Setup Assistant, consider these tips:
Prepare Before Setup
- Backup Your Old Device: Before starting the setup process, ensure your old device is backed up to iCloud or iTunes. This backup will make data transfer easier.
- Update iOS: If transferring data from an old device, ensure it is running the latest iOS version to avoid compatibility issues.
Organize Credentials
- Apple ID and Password: Have your Apple ID and password ready to avoid delays during the setup process.
- Wi-Fi Password: Ensure you know the password for your Wi-Fi network.
Use a Reliable Wi-Fi Network
- Stable Connection: Connect to a reliable Wi-Fi network to prevent interruptions during activation and data transfer.
- Avoid Public Wi-Fi: If possible, avoid using public Wi-Fi networks for security reasons.
Be Patient
- Data Transfer Time: Depending on the amount of data, transferring content from an old device may take some time. Be patient and ensure your devices are adequately charged or connected to power.
Conclusion
The iOS Setup Assistant is an essential tool that simplifies the initial configuration of your iOS device. By understanding its features and following the step-by-step guide, you can ensure a smooth and efficient setup process. Whether you are setting up a new iPhone or restoring an old one, the iOS Setup Assistant is designed to help you get started quickly and enjoy your Apple device to the fullest. Remember to prepare your credentials, use a stable Wi-Fi connection, and be patient during the process for the best experience. With the iOS Setup Assistant, transitioning to a new device has never been easier.
READ ALSO https://skybre.com/2024/08/10/levidia-ch/